About a year ago I pledged $39 for the Bleduino kickstarter and despite it arriving on my mailbox a few months ago, only today did I have time to start playing around with it. I also got a DHT22 temperature sensor, which I will use with the device. A quick disclaimer, I’m a beginner in Arduino and electronics and would describe my soldering skills as non-existent. Hence you will find no soldering in this post.
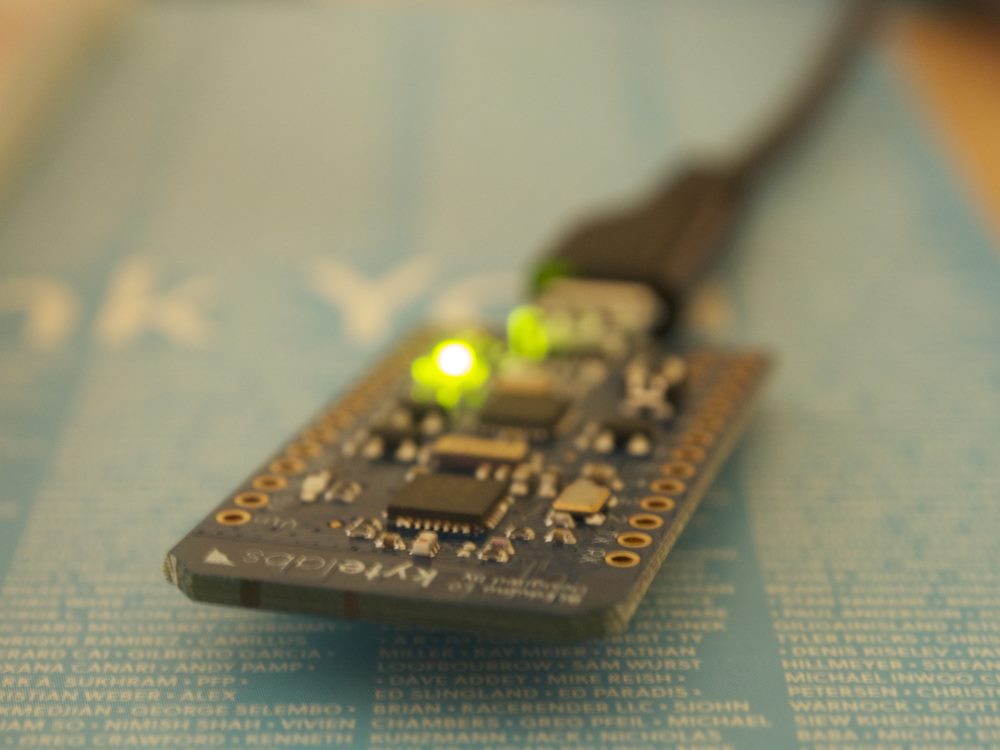
Bleduino is a Bluetooth 4.0 Low Energy (BLE) Arduino-compatible device with allows you to wireless connect to it via Bluetooth. This means that you can finally break free from USB cables and have your device be situated anywhere within wireless range. For example, you can make a primitive weather station that reports back live temperature readings from the back yard, which is my ultimate goal.
There’s also another similar Arduino device to Bleduino called Light Blue Bean. The bean also connects through BLE, except it’s powered by a 3v coin cell battery. It also lacks a micro-usb connector, thus communication is totally wireless. I tried connecting the DHT22 with the Bean, but the output always gave 0% humidity and 0 degress Celsius. A google search turned up others who experienced the same issues. Problem was either the way sleep works on the Bean stopped the input or it wasn’t supply enough power to the DHT22.
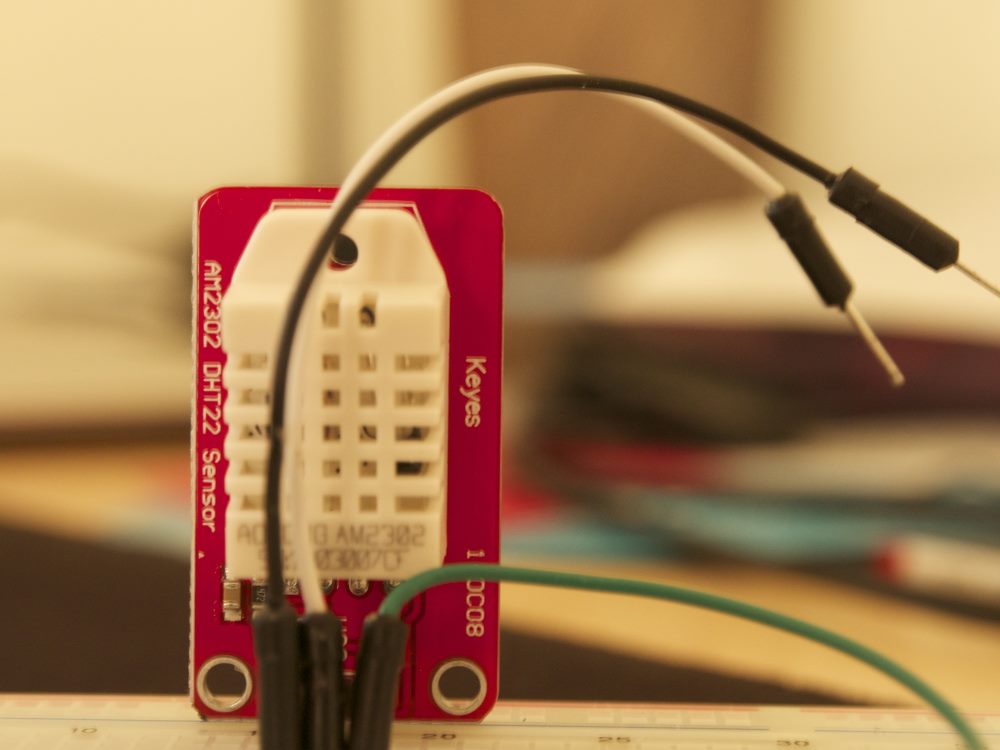
The DHT22 is a popular temperature sensor. The integration between Arduino and DHT22 is described in the DHT Adafruit article which also provided a arduino library for integration. I bought mine from eBay for ~$6 and there seems to be 2 versions on sale: one that’s “Arduino ready”, which presumably includes the pull-up resistors, and one that’s just with the sensor itself. I got the Arduino ready one as it’s less assembly.
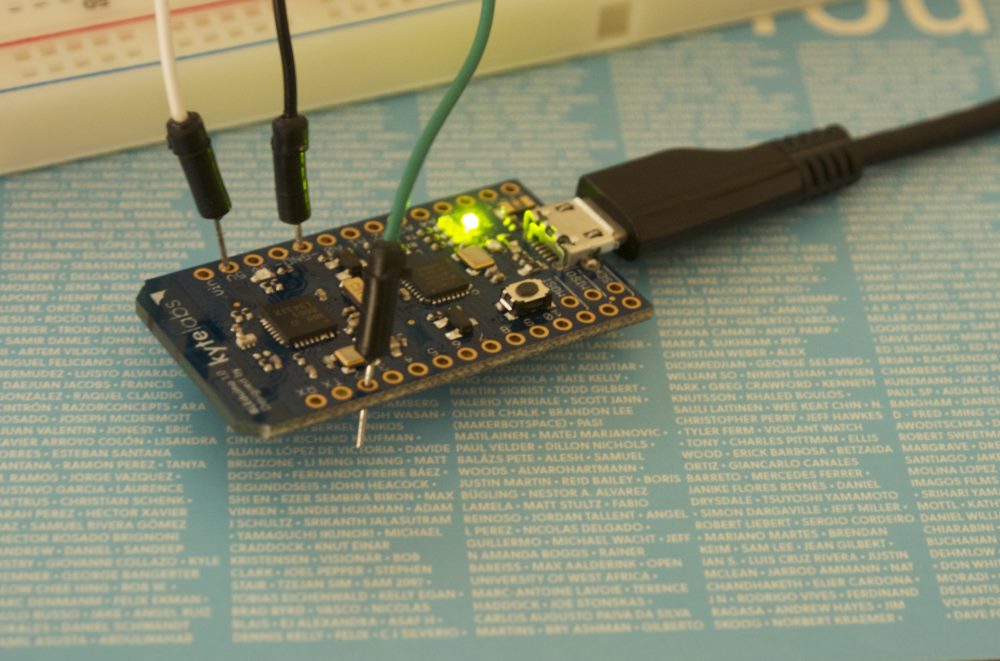
The installation of Bleduino software is straightforward, described in the Bleduino start guide. The only bit which I thought wasn’t clearly explained was that when you connect the Bleduino via USB which port you would use to program your Bleduino. I am using OS X, and when you connect the Bleduino, a new port appears in the form of /dev/tty.usbmodem1421. That seemed to be the one you should use.
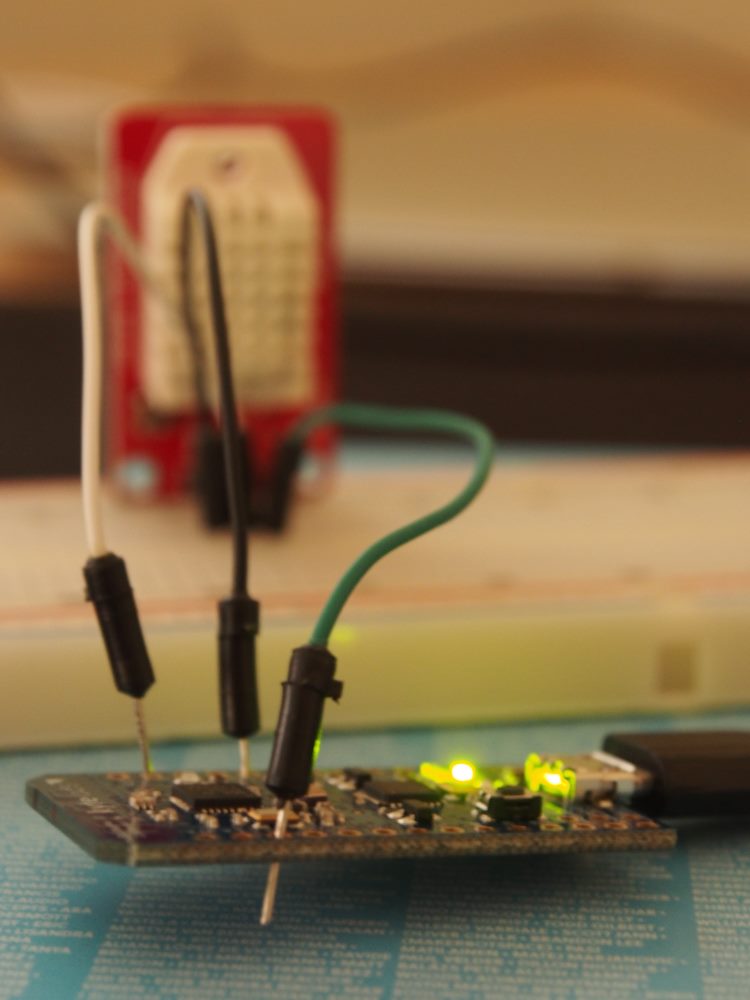
Following the Adafruit tutorial I got the sensor working with minimal fuss. I connected the 5v/GND and D2 pins. My solderless ad-hoc connection worked as long as there were no sudden movements.
Opening the serial connection window, the display showed the temperature and relative humidity every second of so:

Easier than I thought. Next steps would be properly solder the bleduino and create exciting applications for my weather station.